Two Ways to Think About Safety
Picture yourself designing a hospital pharmacy's dispensing system. The traditional approach is to list everything that could go wrong and build a defense for each one:
- Wrong medication could go out → add a barcode check
- Dosage could get miscalculated → add an automated check
- Patient could get misidentified → add an identity check
This is called Safety-I: find the failure modes, build the defenses. It works — it has saved countless lives over the decades.
But it has a blind spot: it only studies the 5% of cases that go wrong, and ignores the 95% that go right.
In 2014, Danish safety scientist Erik Hollnagel proposed a different framework — Safety-II[1]. The question it asks isn't "how do things go wrong," but:
When resources are short, pressure is overwhelming, and the normal process has broken down, how do people still get the job done?
The answer is almost never "because they followed the SOP." It's "because they improvised on the spot." Safety-II's central insight: safety isn't the thickness of your defenses — it's the system's capacity to adapt to change.
On the Disaster Ground, Safety-I Isn't Enough
When we started designing xGrid, our thinking was pure Safety-I too: add a confirmation, add a check, add a barrier. We didn't see the problem until we ran our first full-scenario drill.
The scenario: three medical stations forced to evacuate at the same time. At the moment of evacuation:
- A patient is mid-transfusion, and the blood product's chain of custody can't be broken
- A surgery is underway and has to be interrupted, transported, and resumed at a new station
- Medications are in transit between stations and need to be reallocated to the stations that survive
Safety-I's instinct is to "prevent the evacuation from happening" or "make sure evacuation never coincides with these moments." But in a real disaster, you don't get to choose when you evacuate. Shells don't wait for you to finish the surgery.
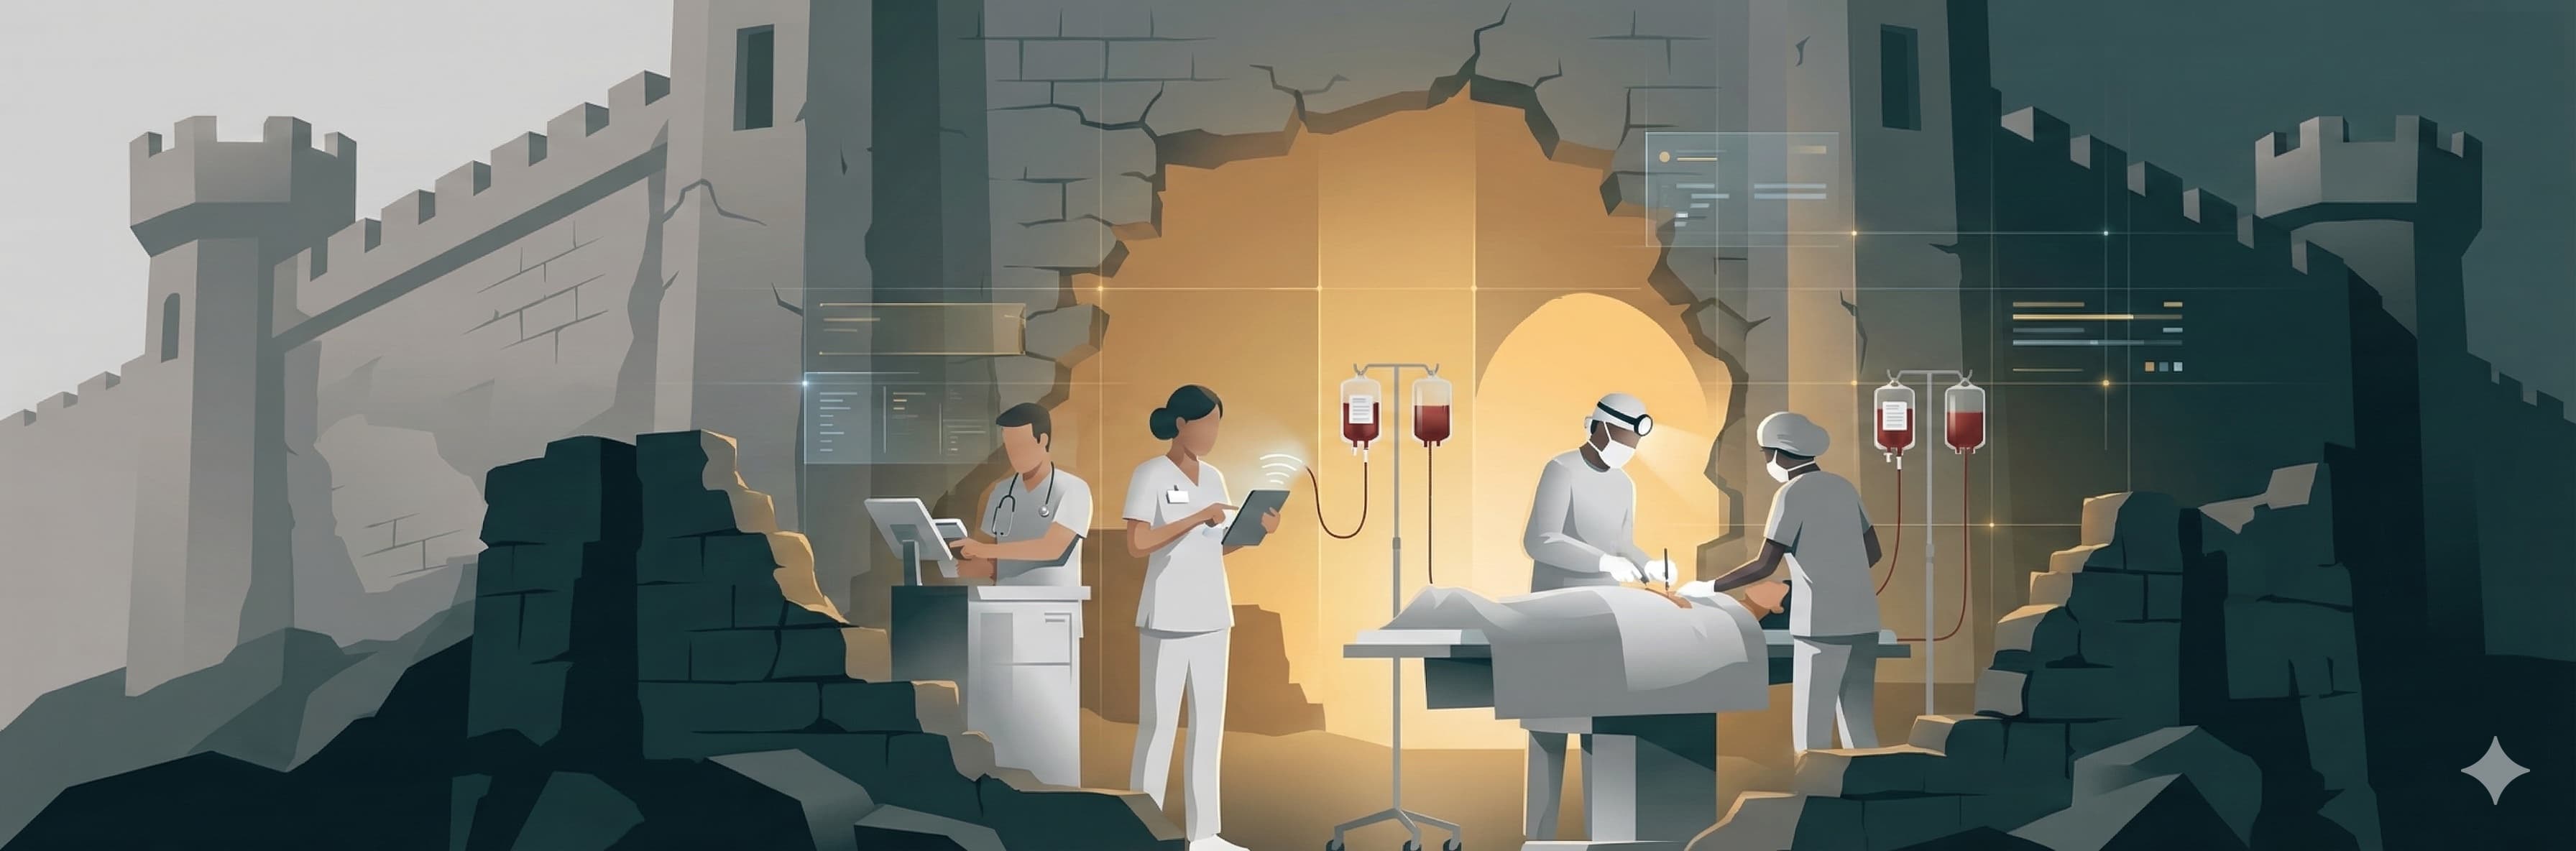
What we needed wasn't a thicker wall. We needed the ability to help people keep doing their jobs after the wall had already been breached.
That's Safety-II.
xGrid's Four Safety-II Design Principles
Principle 1: Honest Uncertainty
Most systems hide what they don't know. Inventory hasn't synced in three days? The screen still shows the last known number, with no warning at all. The user assumes the data is live and makes a decision based on something stale.
xGrid doesn't do that. We tag every data point with freshness metadata. Once data has gone unsynced past a threshold, the screen marks it stale outright. When a nurse sees the word "stale," she knows to do an extra check — count it on the spot, make a call, scan a QR code to resync.
Showing "I'm not sure" is safer than showing a number that might be wrong.
This is a textbook Safety-II design: not eliminating uncertainty — you can't — but making uncertainty visible, so a human can judge based on accurate information.
Principle 2: Degrade Gracefully, Keep the Safety Floor
The network drops. Three stations go dark. Emergency mode kicks in.
In emergency mode, most systems do one of two things: shut down entirely ("please contact IT") or throw every check out the window for speed. Both are dangerous.
xGrid's emergency mode takes the middle path: simplify the operating path, but keep the critical confirmation steps.
Specifically:
- Non-essential fields can be skipped (address, insurance number, allergy details)
- But patient identity verification → kept
- Medication name and dosage confirmation → kept
- Blood product cross-match verification → kept
The logic: under pressure, people naturally want to skip steps to move faster. The system's job isn't to stop them from moving faster — it's to make sure that, in moving faster, they don't skip the one step that could cost a life.
Principle 3: Record to Learn, Not to Blame
xGrid logs every handoff (ISBAR), every transfer, every medication dispense, every inventory change. The records are granular enough to reconstruct the full timeline of an event.
But the point of these records isn't "so we have something to investigate when things go wrong." In the Safety-II framework, the point of recording is to learn from everyday success.
Why did that evacuation go so smoothly? The records show the nurse scanned the blood product data to her phone three minutes before the evacuation started. That's not in any SOP — but her improvised move saved 15 minutes. Should we write that into the SOP next time?
Safety-I only pulls up the records after something goes wrong. Safety-II pulls them up when everything went right too — because the reasons things succeed are worth studying just as much as the reasons they fail.
Principle 4: Break-Glass Authorization
Normal workflow: dispensing a medication needs a physician's prescription → pharmacist verification → nurse check → dispense. Three gates. Very Safety-I.
Disaster reality: the physician is handling a mass-casualty influx and can't issue an e-prescription. The pharmacist is at another station. The nurse has a patient bleeding out in front of her, who needs a hemostatic medication right now.
If the system insists "no prescription, no dispensing," the nurse just routes around it — writes it on paper, calls it out loud, grabs it straight from the cabinet — and the system ends up with no record of any of it.
xGrid provides a 24-hour emergency override mode. A nurse can activate emergency authorization, and the system will:
- Let the action proceed
- Log that "this action used emergency authorization"
- Flag it for review
This isn't bypassing safety — it's acknowledging reality. On the disaster ground, the standard workflow sometimes just doesn't work. Safety-II's position is: rather than pretend everyone will follow every rule, design a mechanism that lets "breaking the rule" also be safely logged and tracked.
Patient I: All Passed, Zero Data Loss
Enough theory — let's look at the data.
Our E2E test suite includes a scenario called Patient I — Consolidation Test, built specifically to test the Safety-II principles under the worst case:
Setup: 8 medical stations, 3 forced to evacuate. Operations in progress during the evacuation:
- Blood transfusion underway (chain of custody can't break)
- Surgery in progress (must be interrupted, ISBAR-handed-off, transported, and resumed at a new station)
- Medications in transit between stations (need reallocation)
| Verification | Result |
|---|---|
| Patient identity preserved across transfer | Pass |
| Blood chain of custody maintained, cross-match at new station | Pass |
| Surgery resumed with complete ISBAR handoff record | Pass |
| Inventory reconciled across all merged stations | Pass |
| All steps executed, all passed, zero data loss | Pass |
This is what Safety-II is worth in a real (simulated) scenario: not "preventing the evacuation," but making the evacuation succeed.
Safety-II Doesn't Replace Safety-I
One last important clarification: Safety-II doesn't mean "throw out the defenses." Barcode checks, dosage checks, identity verification — these Safety-I defenses still matter, and xGrid has all of them.
Safety-II adds a layer on top of Safety-I: when the defenses aren't enough, how does the system help people adapt?
Safety-I
- Core question
What goes wrong? - Design strategy
Eliminate failure modes - View of people
Risk source to constrain - Learning trigger
After incidents - View of variation
Threat to control
Safety-II
- Core question
What goes right? - Design strategy
Enhance adaptive capacity - View of people
Resilience source to support - Learning trigger
During normal operations - View of variation
Necessary adaptation
xGrid does both. But if we could only pick one — on the disaster ground, we'd pick Safety-II.
Because in that environment, the wall is always going to be breached eventually. The question isn't whether it holds. It's what happens after it's been breached.
Related: The Walkaway Test — Designing Software That Outlives Its Creators | Patient-Governed Continuity — Safety-II Mirrored on the Patient Side
References
- Hollnagel E. Safety-I and Safety-II: The Past and Future of Safety Management. Ashgate Publishing; 2014. DOI